
the blog
A Quick Guide to Using Keycloak with MySQL

Keycloak is an Open Source Identity and Access Management. It provides lots of different mechanism for signing and registration such as SSO, Social Login, Customizable Theme, LDAP and Active Directory.
By default, keycloak using its built-in H2 db for data and configuration storage. It also provides various adapter for using another Relation Database System: MySQL, PostgreSQL,…
Keycloak’s document site is already have most of necessary things, this article aims to consolidate the installation and using your own MySQL database instead of H2.
Why using keycloak?
You are getting tired of how to develop an authentication/authorization mechanism the handle all the requests. And also when you completed coding, there are still a lots of factor that need to be tested to ensure all your work is working correctly and does not get into any security vulnerability.
For me, it is absolutely not an easy work and also time consuming, which could slow down your entire software development process.
Then, you might think about KeyCloak. Deploy it in seconds, then integrated with your current system. Then you got everything you need.
Setup KeyCloak
KeyCloak is a java base application, it can run on any platform (macOS, windows, linux,…).
For this guide, I used Ubuntu.
Prerequisites
- Java8 installed
- Linux based OS
Setup Steps
- Installing Distribution Files
# Download keycloak
wget https://downloads.jboss.org/keycloak/6.0.1/keycloak-6.0.1.zip

# Unzip files
unzip keycloak-6.0.1.zip
- Booting the Server
# Go to /bin
cd bin

# Bootstrap the standalone mode
./standalone.sh -b 0.0.0.0
- Initialize the admin account
If you are able to access through the keycloak server locally, you can create your initial account. If not, you have
to run the
bin/add-user-keycloakcommand to add.
bin/add-user-keycloak.sh -r master -u <username> -p <password>
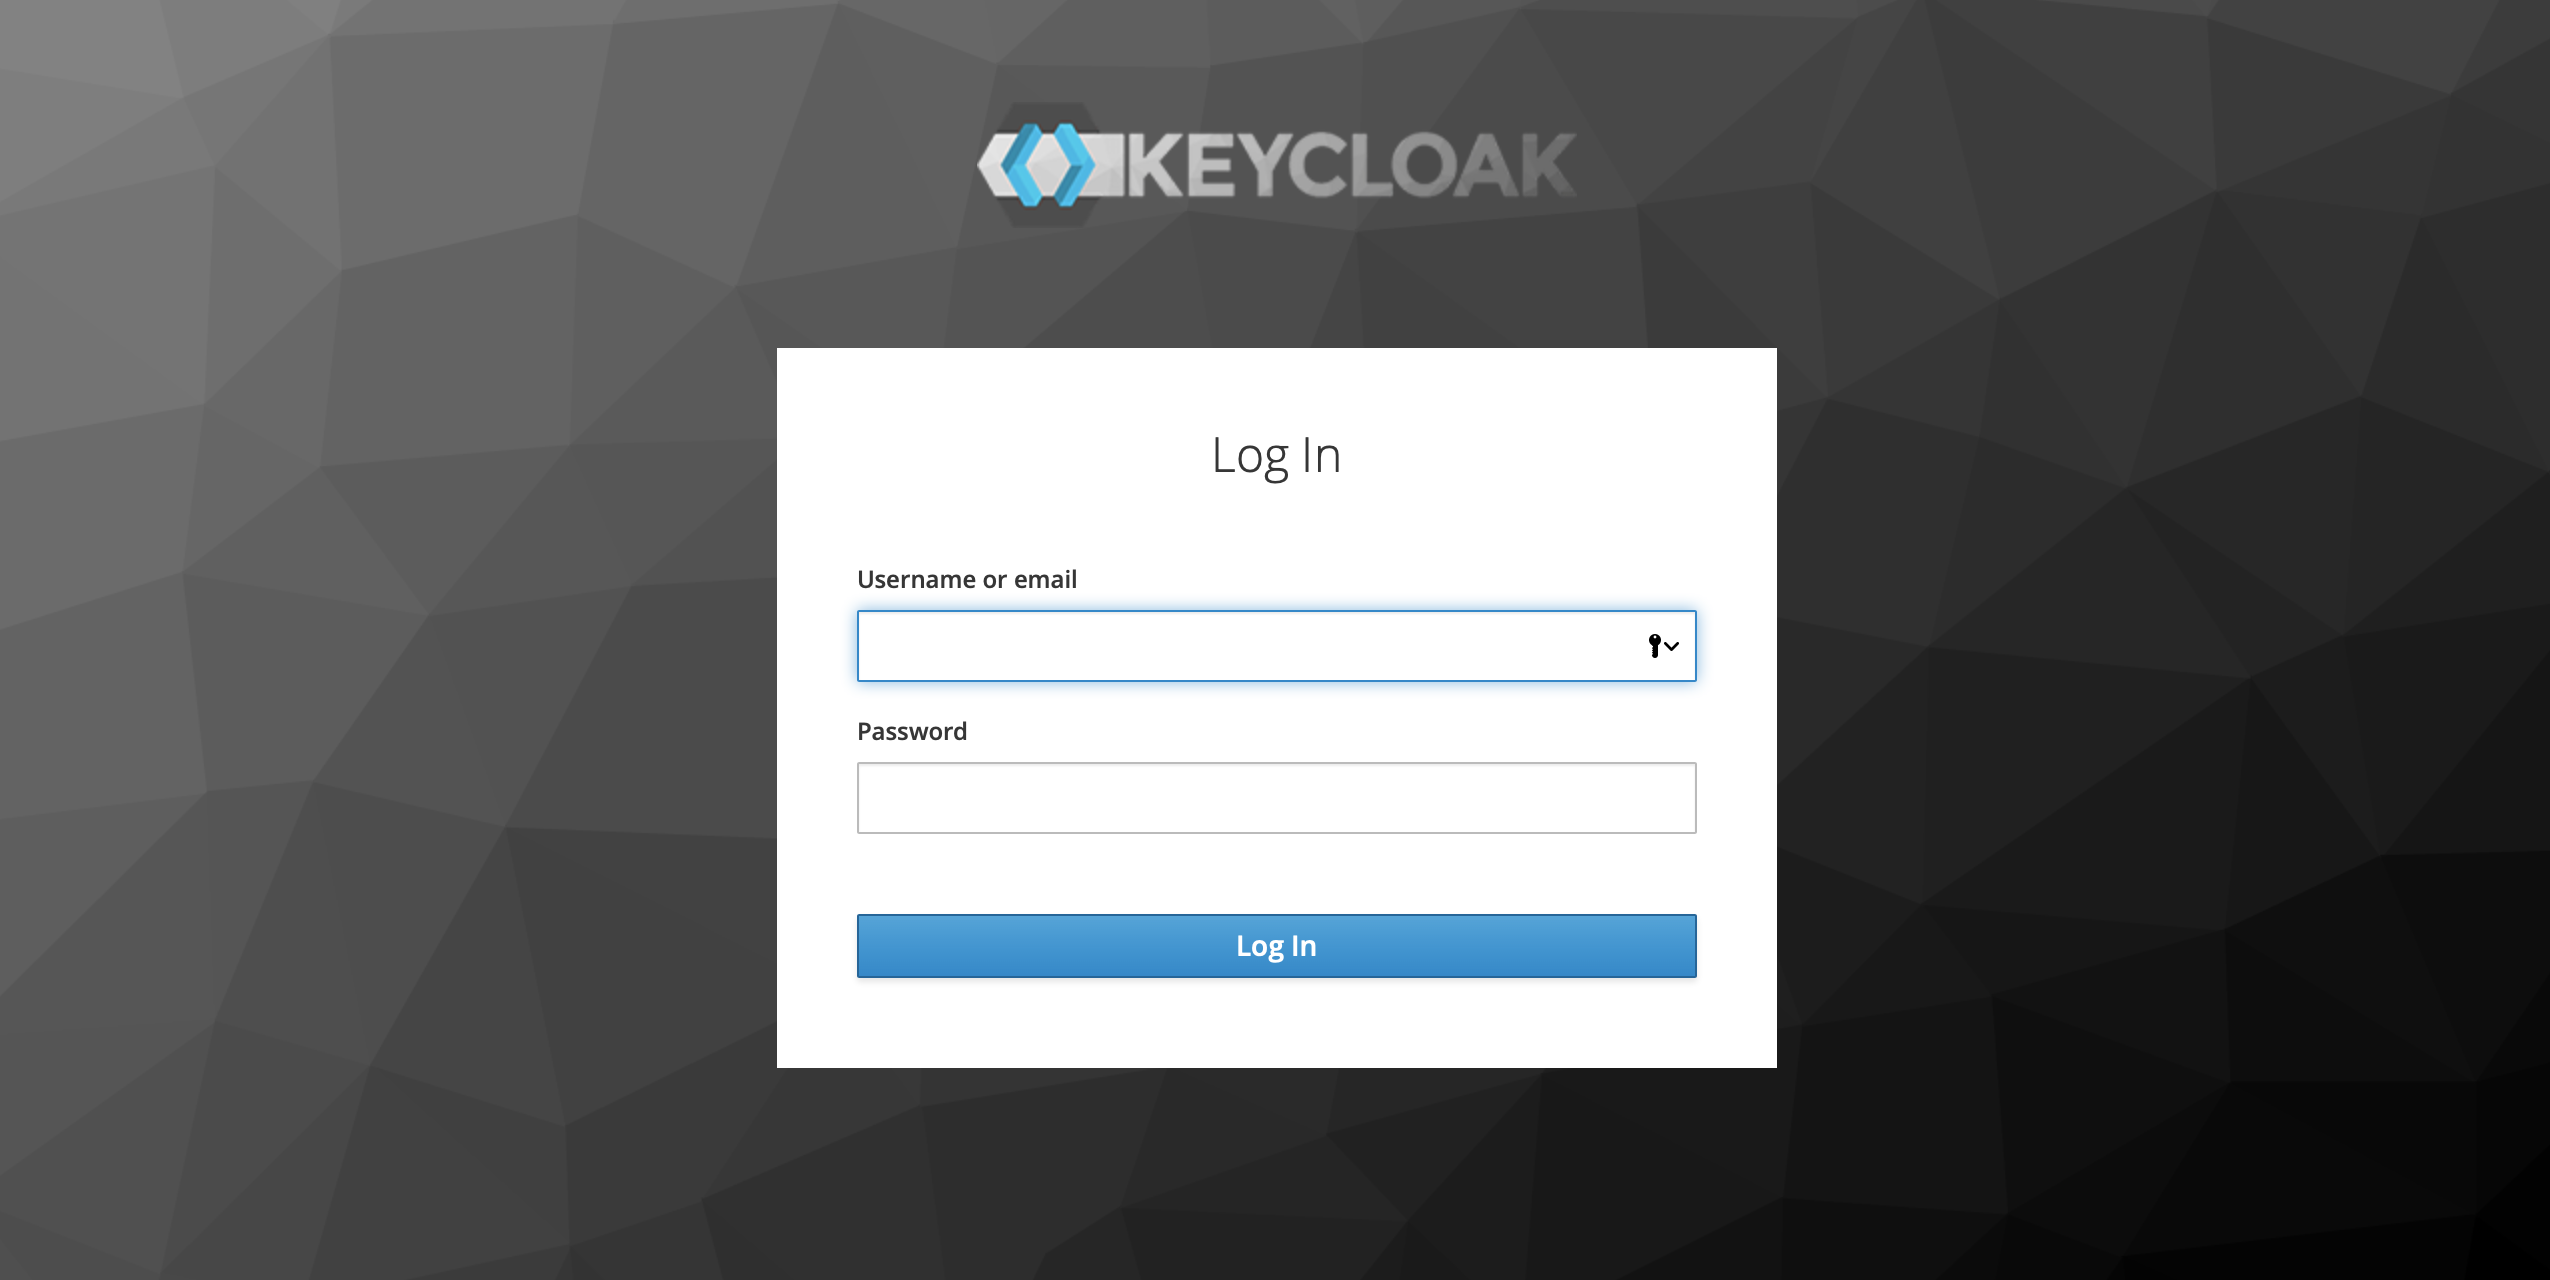
- Access to keycloak server
Navigate to
http://{server-ip}:8080/
Move database from H2 to MySQL
By default, keycloak instantiate using built-in H2 database, which is not easy to use and also not supporting data migration.
Therefore, using an external Relational Database is a must. keycloak support various kinds of RDBMS such as MySQL, PostgreSQL…
Below is how to setup MySQL for keycloak.
Prerequisites
- MySQL 8.0 or later
- keycloak instance could reach to MySQL server.
Setup Steps
Set up MySQL schema for keycloak
By cmd for MySQL workbench. Set up an new schema for keycloak - created keycloak schema - created keycloak user with the password keycloak (please use a strong password for production) - granted all privileges to the keycloak on the keycloak schema
Export current realm
This step is needed, without this step, after migration keycloak could not start due to lack of initial realm info.
./bin/standalone.sh -Dkeycloak.migration.action=export -Dkeycloak.migration.provider=dir -Dkeycloak.migration.dir=exported_realms -Dkeycloak.migration.strategy=OVERWRITE_EXISTING
The exported file is located at: ./bin/exported_realms
Configure MySQL module
# create mysql module directory
mkdir -p ./modules/system/layers/base/com/mysql/main
cd ./modules/system/layers/base/com/mysql/main

# Download MySQL JDBC
wget https://dev.mysql.com/get/Downloads/Connector-J/mysql-connector-java-8.0.16.zip

# Unzip the JDBC and copy the .jar file to pwd
unzip ~/tmp/mysql-connector-java-5.1.42.zip -d ~/tmp
cp ~/tmp/mysql-connector-java-5.1.42/mysql-connector-java-8.0.16.jar .

# Add module config
vim module.xml
Add the following content:
<module xmlns="urn:jboss:module:1.3" name="com.mysql">
 <resources>
  <resource-root path="mysql-connector-java-8.0.16.jar" />
 </resources>
 <dependencies>
  <module name="javax.api"/>
  <module name="javax.transaction.api"/>
 </dependencies>
</module>
Config standalone.xml
Replace the KeycloakDS and add the MySQL driver
Before
<subsystem xmlns="urn:jboss:domain:datasources:5.0">
    <datasources>
        <datasource jndi-name="java:jboss/datasources/ExampleDS" pool-name="ExampleDS" enabled="true" use-java-context="true" statistics-enabled="${wildfly.datasources.statistics-enabled:${wildfly.statistics-enabled:false}}">
            <connection-url>jdbc:h2:mem:test;DB_CLOSE_DELAY=-1;DB_CLOSE_ON_EXIT=FALSE</connection-url>
            <driver>h2</driver>
            <security>
                <user-name>sa</user-name>
                <password>sa</password>
            </security>
        </datasource>
        <datasource jndi-name="java:jboss/datasources/KeycloakDS" pool-name="KeycloakDS" enabled="true" use-java-context="true">
            <connection-url>jdbc:h2:${jboss.server.data.dir}/keycloak;AUTO_SERVER=TRUE</connection-url>
            <driver>h2</driver>
            <security>
                <user-name>sa</user-name>
                <password>sa</password>
            </security>
        </datasource>
        <drivers>
            <driver name="h2" module="com.h2database.h2">
                <xa-datasource-class>org.h2.jdbcx.JdbcDataSource</xa-datasource-class>
            </driver>
        </drivers>
    </datasources>
</subsystem>
After
<subsystem xmlns="urn:jboss:domain:datasources:5.0">
    <datasources>
        <datasource jndi-name="java:jboss/datasources/ExampleDS" pool-name="ExampleDS" enabled="true" use-java-context="true" statistics-enabled="${wildfly.datasources.statistics-enabled:${wildfly.statistics-enabled:false}}">
            <connection-url>jdbc:h2:mem:test;DB_CLOSE_DELAY=-1;DB_CLOSE_ON_EXIT=FALSE</connection-url>
            <driver>h2</driver>
            <security>
                <user-name>sa</user-name>
                <password>sa</password>
            </security>
        </datasource>
        <datasource jndi-name="java:/jboss/datasources/KeycloakDS" pool-name="KeycloakDS" enabled="true">
            <connection-url>jdbc:mysql://ls-b3031ce90846ca6fa166bd8a8253d714c6dcbfbf.cd7roeu7ccs1.ap-southeast-1.rds.amazonaws.com:3306/keycloak?useSSL=false</connection-url>
            <driver>mysql</driver>
            <pool>
                <min-pool-size>5</min-pool-size>
                <max-pool-size>15</max-pool-size>
            </pool>
            <security>
                <user-name>keycloak</user-name>
                <password>keycloak</password>
            </security>
            <validation>
                <valid-connection-checker class-name="org.jboss.jca.adapters.jdbc.extensions.mysql.MySQLValidConnectionChecker"/>
                <validate-on-match>true</validate-on-match>
                <exception-sorter class-name="org.jboss.jca.adapters.jdbc.extensions.mysql.MySQLExceptionSorter"/>
            </validation>
        </datasource>
        <drivers>
            <driver name="h2" module="com.h2database.h2">
                <xa-datasource-class>org.h2.jdbcx.JdbcDataSource</xa-datasource-class>
            </driver>
            <driver name="mysql" module="com.mysql">
                <driver-class>com.mysql.cj.jdbc.Driver</driver-class>
            </driver>
        </drivers>
    </datasources>
</subsystem>
Import realms
./bin/standalone.sh -Dkeycloak.migration.action=import -Dkeycloak.migration.provider=dir -Dkeycloak.migration.dir=exported_realms -Dkeycloak.migration.strategy=OVERWRITE_EXISTING -b 0.0.0.0
Keycloak started successfully and the database has been migrated.
Gallery
HomePage

Admin Login

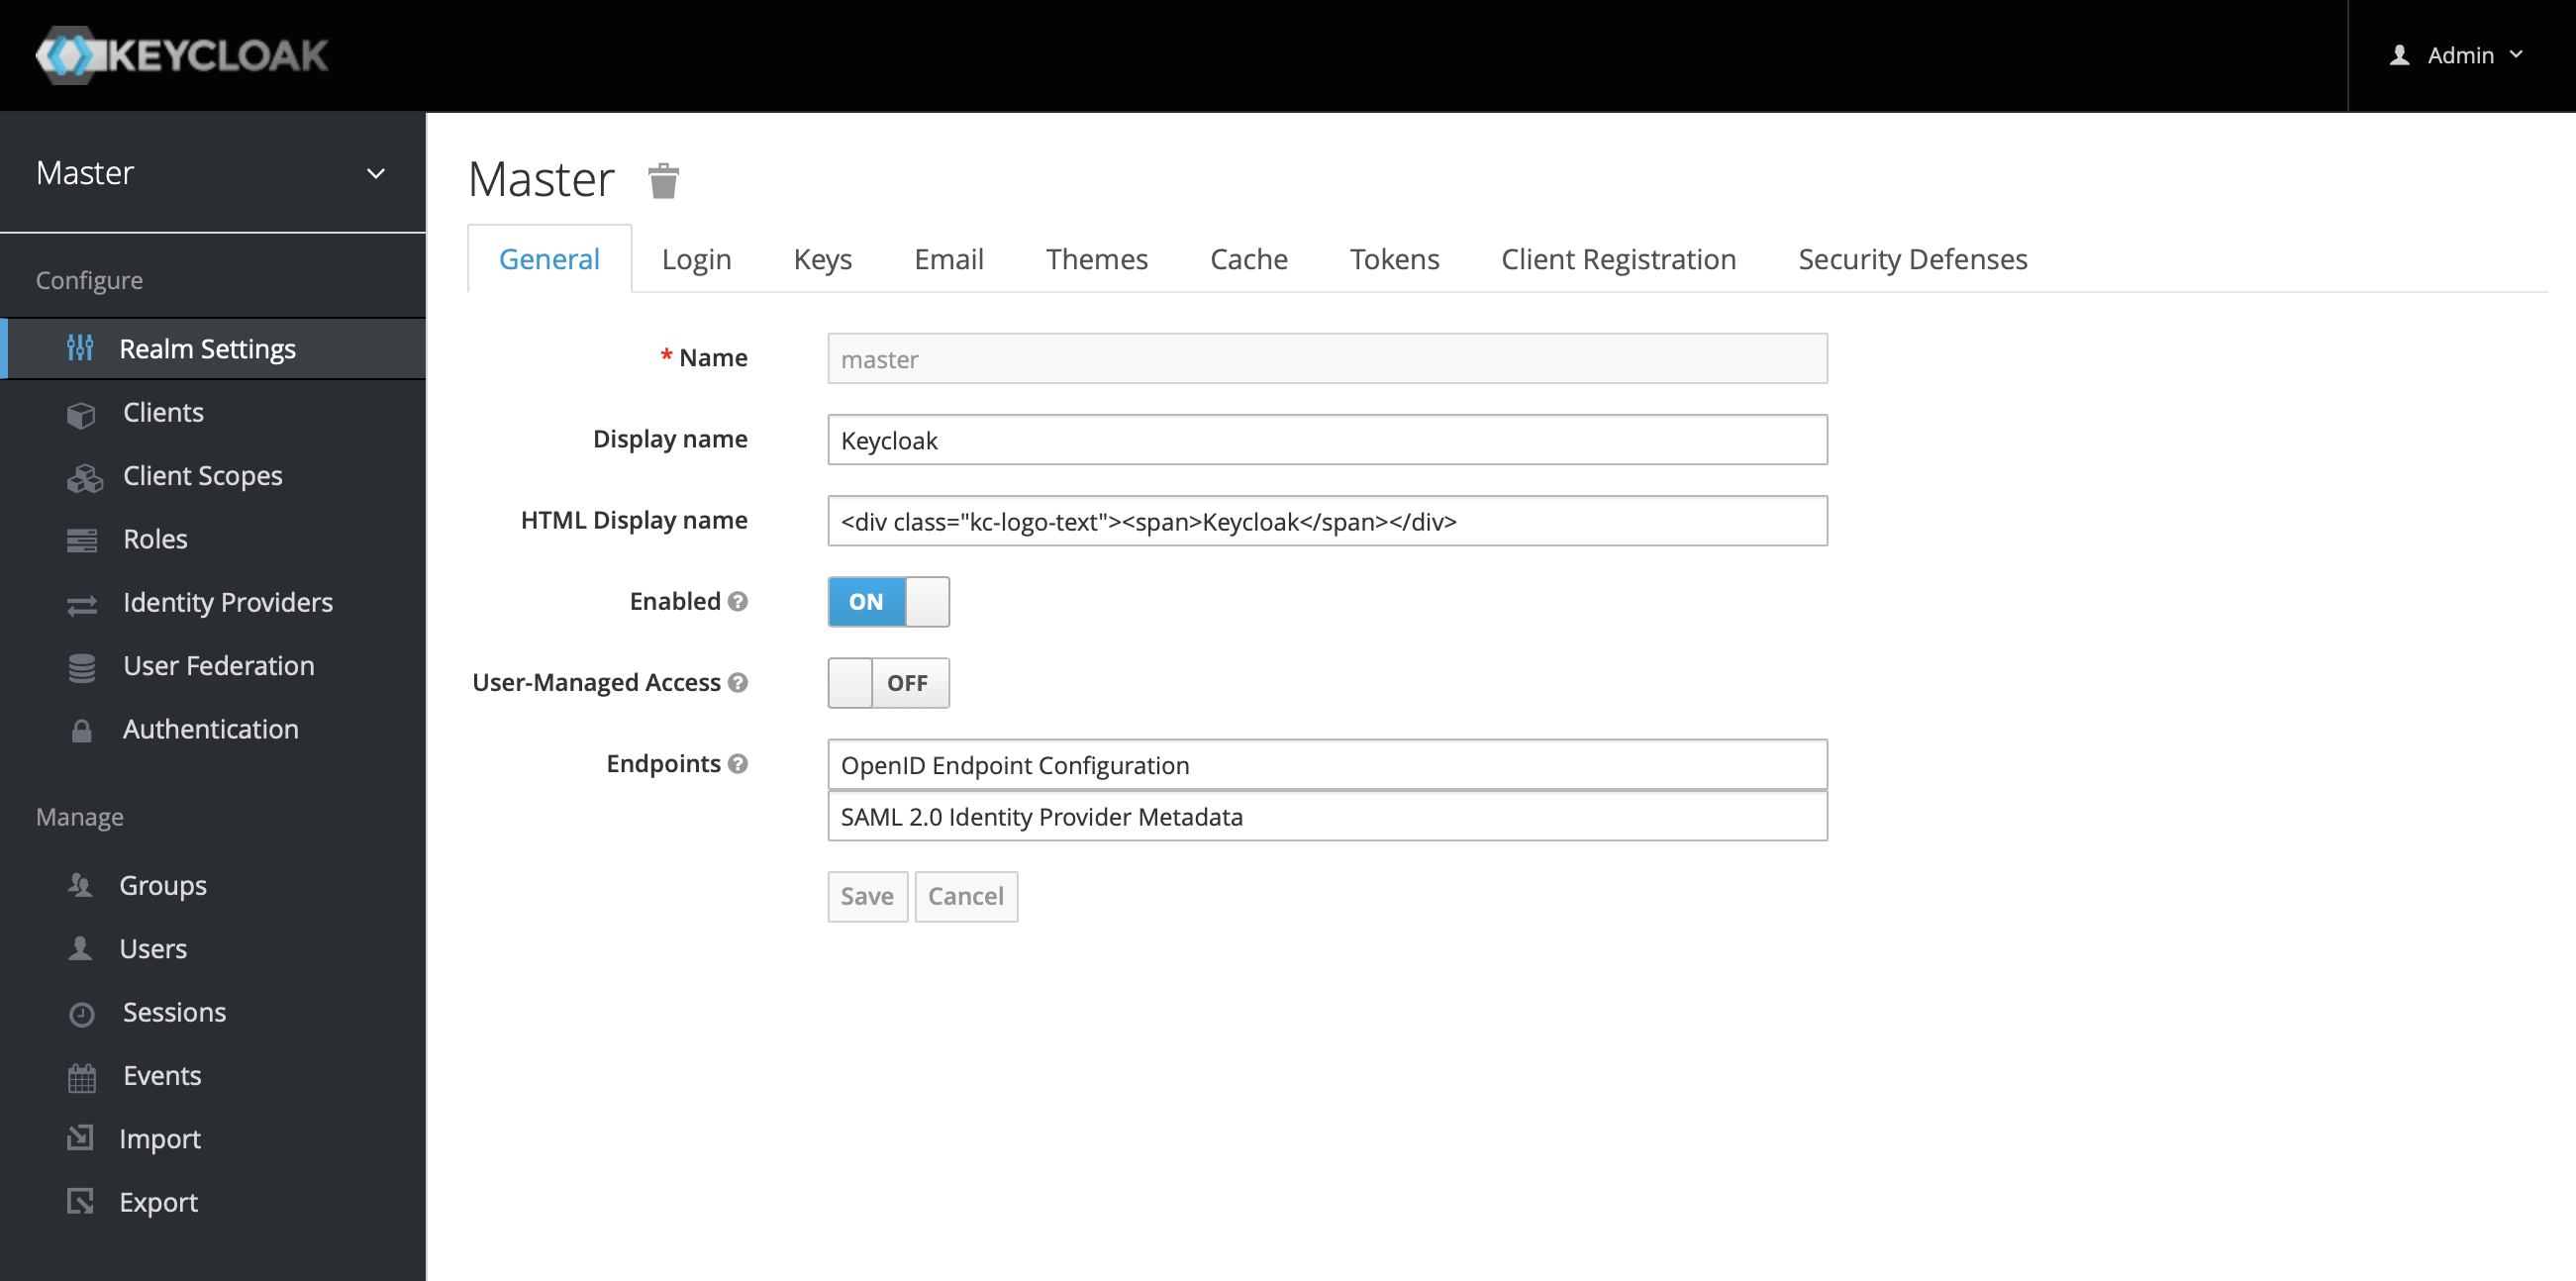
Admin Console
